


You want to make your MacOS terminal colorful and good looking ? Here is what you can do
Tested Configuration:
MacOS: Sierra 10.12
Terminal: iTerm2 & Terminal
1. What terminal to choose
I tested
- default MacOS terminal
- iTerm2
No big difference for what we will do.
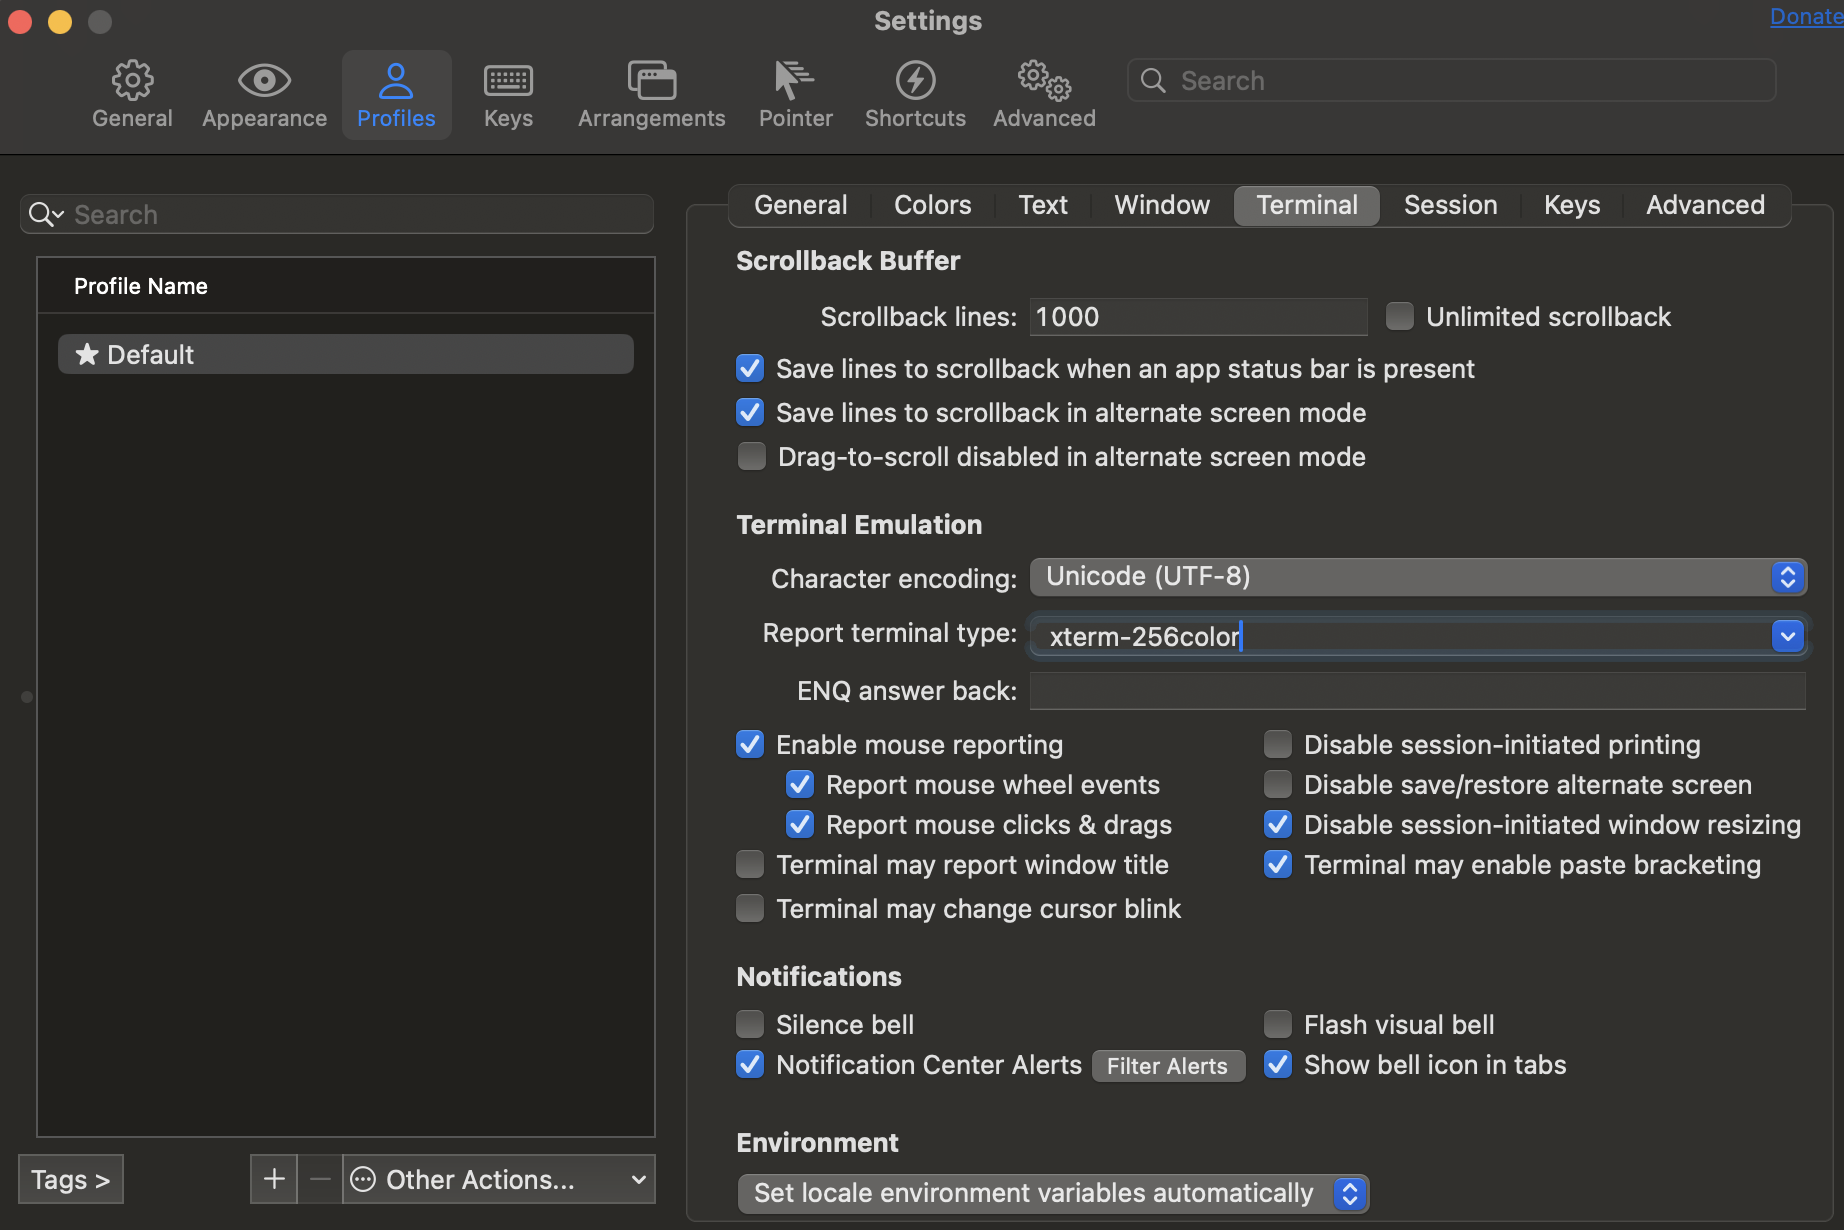
2. Set the colors
Set the terminal colors to xterm-256color.
Here is how you can do it:
The best practice is to put all your terminal customization in .bashrc file, and make sure .bash_profile imports it. This way all interactive shells (new tabs of iterm) and login shells share all the configuration.
Create your .bashrc by typing:
nano ~/.bashrc
Add these lines at the end of the file:
export CLICOLOR=1
export LSCOLORS=GxFxCxDxBxegedabagaced
source ~/.bash_prompt
Now, make sure your .bash_profile loads your .bashrc file:
nano ~/.bash_profile
Add these lines:
if [ -f ~/.bashrc ]; then
  source ~/.bashrc
fi
Finally, copy the content of this file
and paste it inside the .bash_prompt file:
nano ~/.bash_prompt
3. Use your terminal as if it was Microsoft Word
For that, we will install micro. It’s an alternative to VI or NANO that allows you to use your mouse for selecting text, and allows ctrl+z, ctrl+y and even more shortcuts for quick and easy text editing
Type brew install micro
Only for iTerm2 users: use ‘xterm Defaults’ configuration.
Add your favorite shortcuts:
Type micro ~/.config/micro/bindings.json
and inside this file, just write down what you want as shortcuts.
If you want to custom more shortcuts, click here
4. Use the classic shortcut
On a default terminal you can navigate left and right only letter by letter.
Let’s set up our Terminal so that we can go directly to the end of line, or jump word by word !
Like in the previous part, open the preferences on the Profiles > Keys,
then click “+”
then fill as bellow:
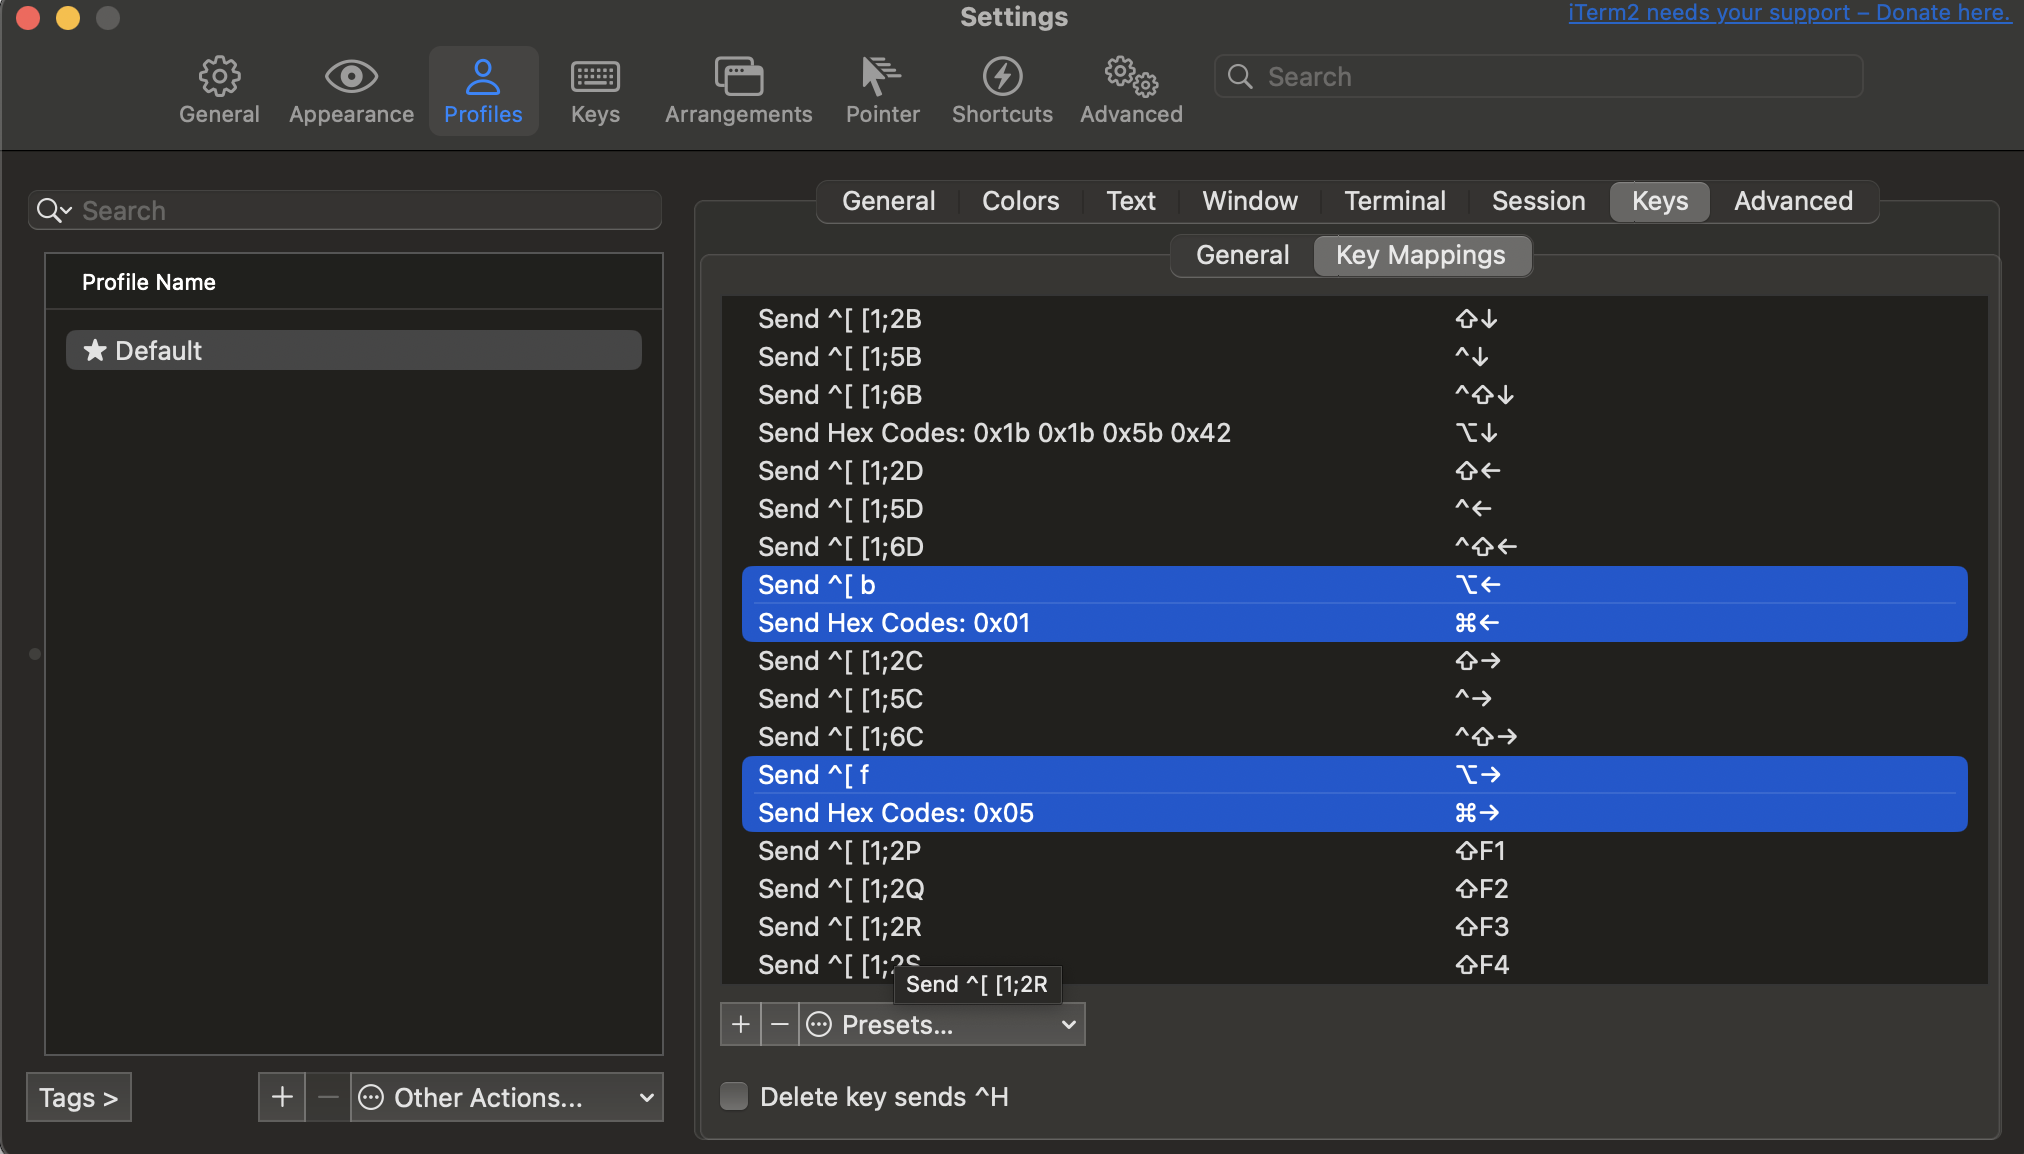 This will allow you to use ⌘→ to reach the end of line.
Here is what I suggest:
⌘→ OF will do “end of line”
⌘← OH will do “start of line”
⌥← b will do “go to left word”
⌥→ f will do “go to right word”
5. Print sizes of directories
To print the size of current files and directories (sorted by size)
First you need to install coreutils by typing
brew install coreutils
Then type micro ~/.bash_profile
And finally write this at the end of the file alias getsize='du -hs * | gsort -h'
6. Increase search history
Your terminal logs every command line you type. To see your history, type in your terminal: history
A very useful keyboard shortcut in a terminal is Ctrl + R: It will open a reverse search history. For commands you don’t use often, this is a quick way to retrieve it. However, by default it is limited to 500 entries only (type ` echo $HISTSIZE` to see it)
So to increase this, in your terminal type:
sudo nano ~/.bash_profile
And add at the end of the file
HISTFILESIZE=1000000000
HISTSIZE=1000000
7. Preview CSV files
this is not terminal related - more a MacOS tip
MacOS comes with a preview tool called “Quicklook” but it sucks for CSV files.
I recommend this plugin to fullfill this need. The instructions here are very easy.
Other plugins (for JSON…) are available here
8. VS code default profile
As mentionned in this stackoverflow we can select a default terminal profile as bash instead of zsh for macOS users. Easy by typing in VScode Terminal: Select Default Profile and selecting bash.
9. MacOS bash as default instead of zsh
To change your default shell from Zsh to Bash, simply run the chsh -s /bin/bash command in Terminal and reopen it. See more here
Note : Revert to zsh by typing chsh -s /bin/zsh
To avoid the warning “The default interactive shell is now zsh.” simply add in the .profile file the line:
export BASH_SILENCE_DEPRECATION_WARNING=1
and reload your terminal
10. Command history search
For more visual search in your command history, install fzf and replace the old CTRL-R way with fzf
11. New terminal in the same folder as the previous one
Select “Reuse previous session’s directory” from the Settings > Profiles > General > ‘Workind Directory’. More info here
12. Faster keyboard
If you want the arrow left cursor to go faster, you can update your settings. For macOS users
Settings > Keyboard > Key repeat rate : Fast
Settings > Keyboard > Delay until repeat : Short