


You already use Postgres, and you are looking for a free hosting service to store your database ? Also, you want an API to interact with your database ? Here is a proposition :
Plan
- Create and host your Postgres Database using ElephantSQL
- Create our API to store and retrieve information (CRUD) using PostgREST deployed on Heroku in a single click
1. Database
You can create a postgres database on you own machine, or any other DaaS (database as a service) provider. Just make sure you create a postgres database.
I chose ElephantSQL because they offer a free starter plan, but you can choose another one if you want.
Create you account
Follow this link
Create your database
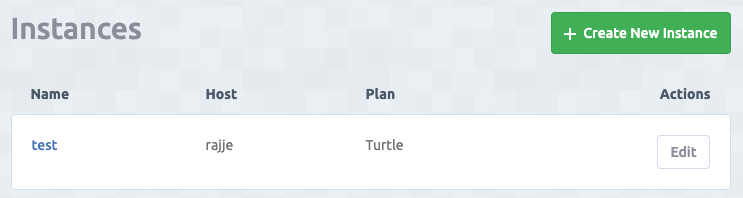
Click on Create New Instance and follow the instructions. The data center location has no importance here, just pick any of them.

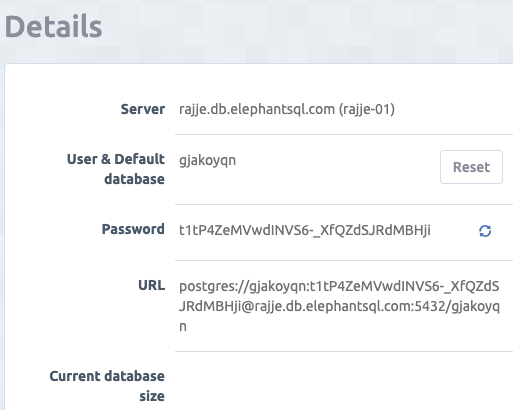
You should have something like this. Click on the database name to see all the Details.
Here is all we need from ElephantSQL. We can save these information for later (I changed the password since the tutorial was released if you wonder…)
NB : from now on, you can use tools to connect and modify your database as you wish. psequel of pgadmin are two options you can try.
Note :
There is one drawback with the free plan of ElephantSQL. You cannot control the roles, and cannot create new users. Therefore, there will be only one user (the user “gjakoyqn”) that will be able to access the database. If you need more users to connect, then it will be better to choose a different option. The schema will by by default public
Create a table
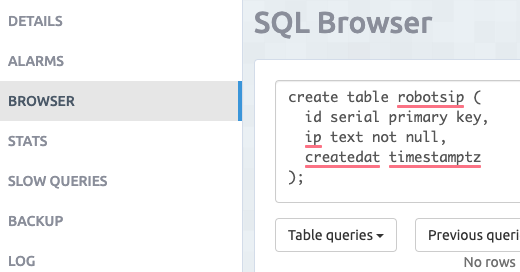
Using your GUI tool, or the BROWSER option on ElephantSQL, create a table using this command :
create table robotsip (
  id serial primary key,
  ip text not null,
  createdat timestamptz
);
You will understand in the next paragraph why I chose to create this table.
2. API
Why PostgREST
There are many ways to interact with your newly created database. You can use GUI like pgadmin to connect directly. But if you want an application to save information into your database, you will need an API.
Let’s say we want a table in our database called robotsip that saves any IP for the bots coming on our web application (like a frontend app coded in VueJS for instance).
It would then be nice to have a URL like https://bot-tracker.com/robotsip on which we could send on POST request with the bot IP and the time when the bot came on our web app.
Also, it would be cool to have every bot IP on https://bot-tracker.com/robotsip using a GET request.
For these kind of job, a CRUD API fits perfectly. That’s what PostgREST is for postgres database.
Note: we won’t follow exactly PostgREST official documentation since we can’t deal with roles, and schema with our free ElephantSQL plan.
Heroku
We use Heroku as IaaS (infrastructure as a service) since they offer free hosting for small projects. You can choose other options, but you’ll have to refer to this documentation
Create your account
Follow the instructions to create your account here
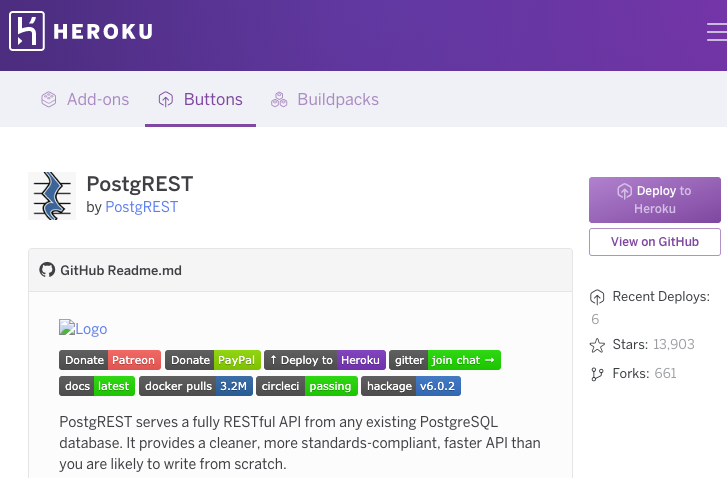
Create your PostgREST server
Once you have your account ready, follow this link and click on Deploy to Heroku
You will then land on a pre-filled Form like the one bellow. Here is the moment where you will need the information from ElephantSQL. If you need more details on what to put, this may help a bit.
Some tips are bellow the form example :
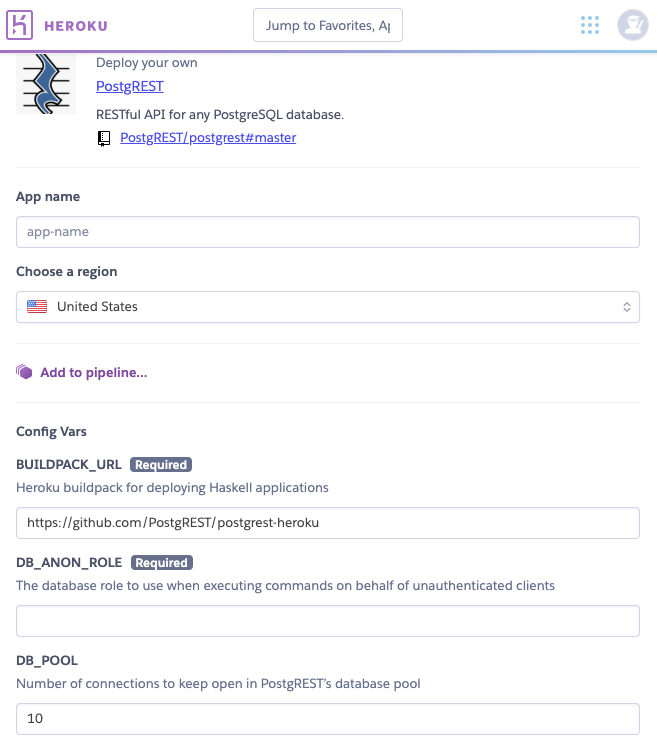
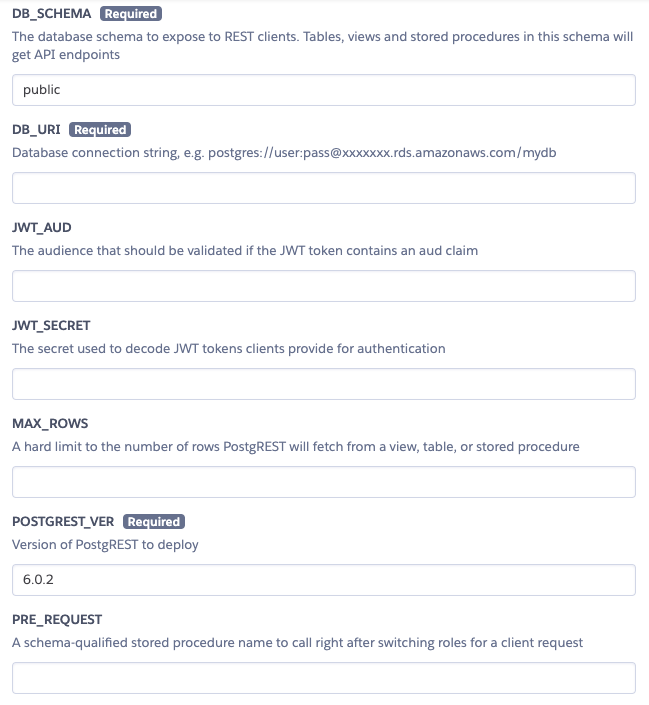
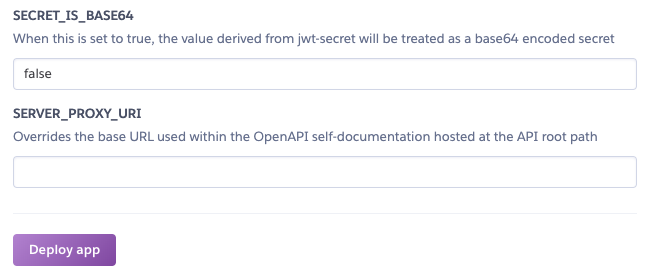
DB_ANON_ROLEdoesn’t exist for us, but is compulsary, so typeannoand it will workDB_URIis theURLfrom ElephantSQL (see above)JWT_SECRETneeds to be more than 32 characters long, sogjakoyqngjakoyqngjakoyqngjakoyqnos ok for instance.JWT_AUDis your ElephantSQL usernamegjakoyqnSECRET_IS_BASE64isfalse
Then click Deploy app and
Test your application
Everything works now. Let’s see the result here (replace with the name you chose in the previous Heroku Form)
https://your-heroku-app-name.herokuapp.com/robotsip
You will see
{"hint":null,"details":null,"code":"22023","message":"role \"anno\" does not
exist"}
And that’s perfectly normal : Your app works. It only misses the JWT (JSON web Token) for authentification.
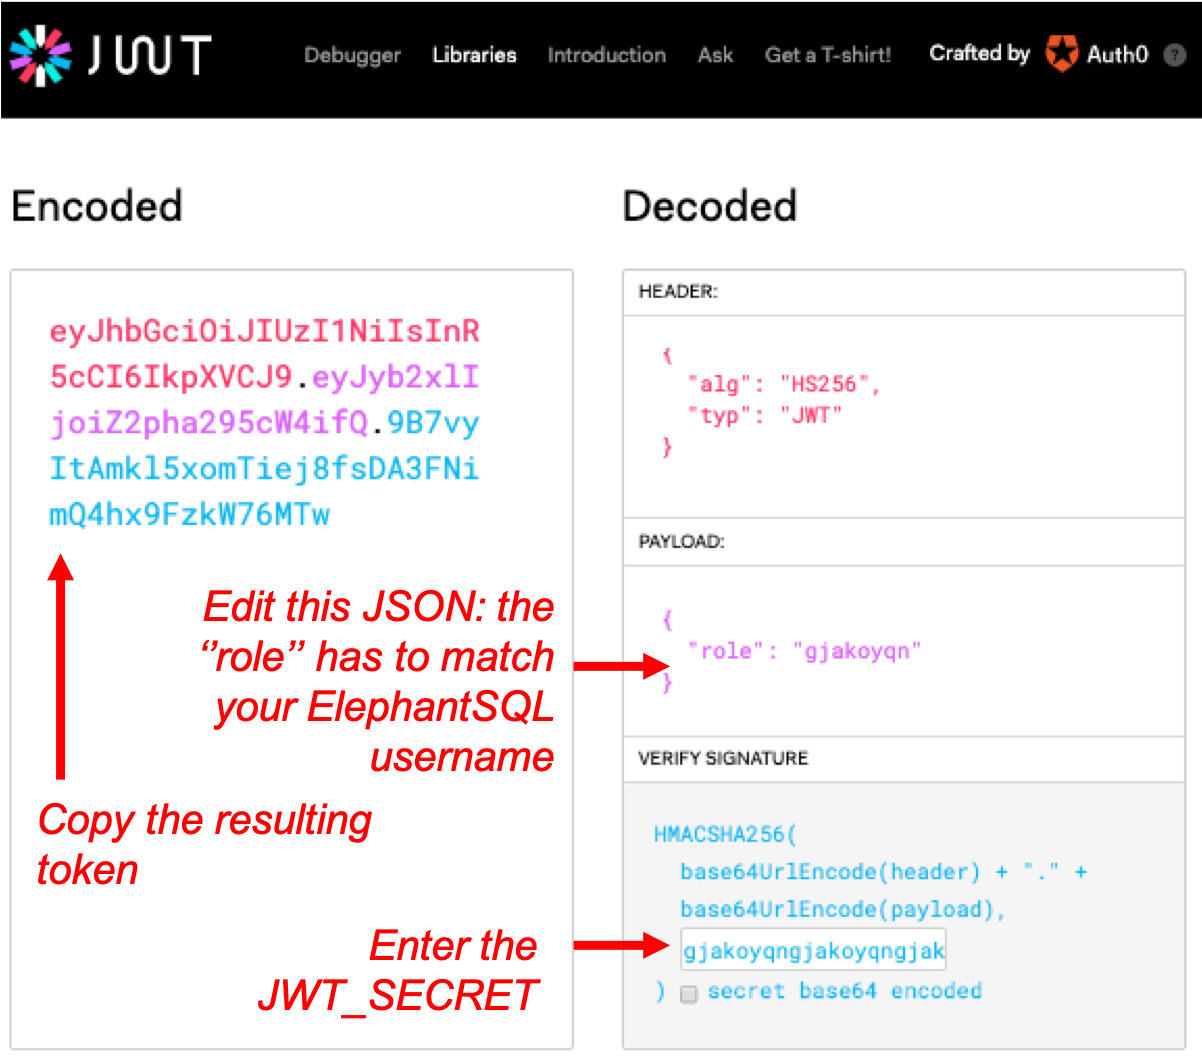
Go to jwt.io and follow the instruction on the picture bellow (More information here)
The string eyJ... is the JWT we need.
To send a request with a JWT we will use curl. You can use postman if you are more comfortable with visual tools.
Open your terminal and type (replace XXXXXXXX with your JWT):
curl https://your-heroku-app-name.herokuapp.com/robotsip -X POST \
     -H "Authorization: Bearer XXXXXXXX"   \
     -H "Content-Type: application/json" \
     -d '{"ip": "some random text for testing","createdat":"random text here as well for testgin"}'
If nothing appears, it’s that you did it ! Otherwise, there are maybe some errors in the informations you send in the payload.
Now you should see your result typing
curl https://your-heroku-app-name.herokuapp.com/robotsip -X GET \
     -H "Authorization: Bearer XXXXXXXX"
Congratulations !
Note :
- If you are curious about how ElephantSQL handles their free database, you can try this.
SELECT rolname FROM pg_roles;
You will see thousands of records, including yours. Basically you are limited to your database only, but you can see the meta-data of the others.
More on roles: postgresqltutorial.com - Original tutorial : postrgrest tutorial